I’ve gotta say, there’s something magical about a Shamrock Shake. Every sip takes me back to carefree days, and it hits just the right spot. Honestly, who wouldn’t want a creamy, minty treat that’s as festive as it is delicious? I mean, it’s like a milkshake that decided to wear green for a party. If you’ve been craving this nostalgic delight, trust me, you’re in for a real treat. Let’s whip it up together, shall we?
Why You’ll Love This Recipe
You’re going to love this Shamrock Shake recipe because it’s not just a drink; it’s a delightful experience that brings back all those fun memories from March.
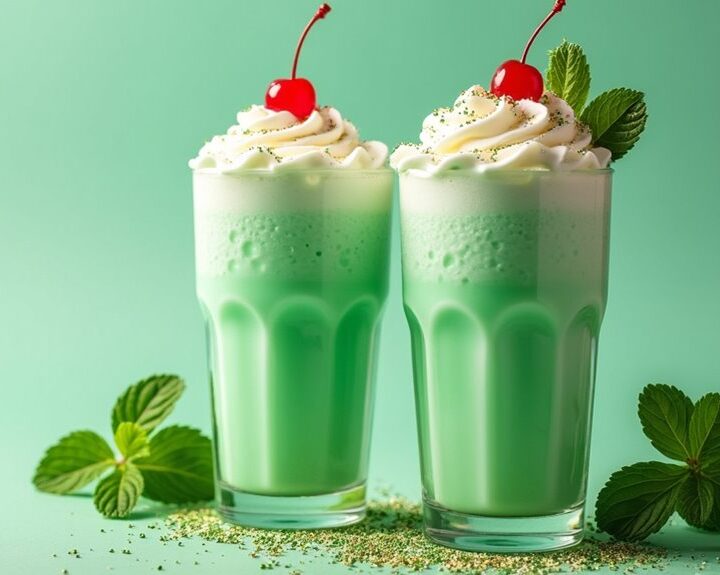
Every sip takes me back to St. Patrick’s Day celebrations, where the whimsical green color makes everything feel magical. This shamrock shake isn’t just delicious; it’s like a creamy minty hug in a glass. The blend of vanilla ice cream and mint extract hits just the right notes, and let’s be honest, who doesn’t love whipped cream and cherries on top?
I often find myself sneakily making these shakes even outside March. So, why wait? Let’s whip up some nostalgic goodness, shall we? I promise it’ll be worth it.
Equipment List
To make that dreamy Shamrock Shake, you’ll need a few key pieces of equipment that make the blending process fun and easy. First up, a powerful blender is a must. Trust me, you don’t want to spend forever coaxing ice cream into submission—better to let that machine do the work! Many people find their perfect fit by choosing a premium kitchen blender based on their specific blending needs, which can enhance the overall experience.
Next, grab a measuring cup for the milk; we can’t just eyeball it, right? And, of course, don’t forget a spatula to scrape down those sides.
Finally, have some glasses ready to showcase your beautiful creation. I mean, who doesn’t love a good presentation? As I learned the hard way—getting it all over my kitchen counter isn’t a glamorous look.
Now, let’s get blending!
Our Ingredients
When it comes to whipping up a Shamrock Shake, it all starts with the ingredients. Gather these goodies, and you’ll be on your way to enjoying a minty, creamy treat that screams “St. Patrick’s Day,” even if you’re enjoying it on a Tuesday.
Honestly, there’s just something about this shake that feels festive, isn’t there? You can almost picture yourself sipping it on a sunny day or while lounging on a couch that smells like popcorn and upcycled dreams. So, let’s not waste any more time—here’s what you’ll need to create this delightful concoction.
- 4 cups vanilla ice cream
- 1½ cups whole milk
- ¼ teaspoon mint extract (feel free to adjust to your personal minty preference)
- 10 drops green food coloring (or more, if you want to go all-out on the green)
- Whipped cream (to top it off like a fluffy cloud)
- 4 maraschino cherries (because who doesn’t love a cherry on top?)
- Optional: green or gold sprinkles (for that extra festive flair)
Now, a quick note about the ingredients: Trust me when I say that the quality of ice cream makes a big difference. You don’t want a watery shake; you want a thick, creamy delight that begs you for just one more sip (maybe two… or three).
Whole milk is also a game-changer; using anything skim or low-fat just doesn’t cut it. And that mint extract? A little goes a long way, so take it slow unless you want your friends to think you’ve just brewed a pot of toothpaste.
Step-by-Step Instructions
Making a Shamrock Shake is a fun and easy process that’ll have you sipping on a creamy, dreamy minty treat in no time. Whether you’re celebrating St. Patrick’s Day or just looking for a tasty dessert, follow these simple steps to whip up your very own festive shake.
1. Blend the Base: Start with 4 cups of vanilla ice cream in your blender. Add 1½ cups of whole milk, ¼ teaspoon of mint extract, and 10 drops of green food coloring. Blend these ingredients until the mixture is nice and thick, resembling a delightful minty cloud. If you’ve ever mashed up a perfect milkshake before, this one’s not much different!
2. Adjust the Consistency: After blending the first batch of ingredients, it’s time to gradually add in the rest of the milk. This will help you reach a pourable consistency that’s not too runny but still smooth. Blend it again until you get everything mixed in perfectly. You want it to be just right, like Goldilocks would.
3. Taste Test Time: Now, it’s the moment of truth. Take a spoonful of your shake and give it a taste. If you want a stronger mint flavor, you can add a few more drops of mint extract. Play around until you hit that minty sweet spot you love.
And if you feel the need for an extra dose of green, feel free to toss in more food coloring.
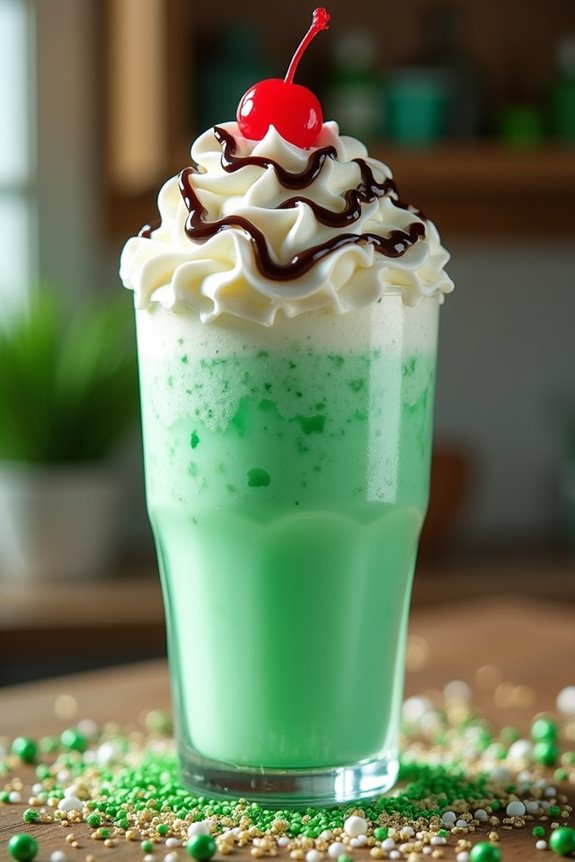
4. Pour and Decorate: Once you’re satisfied with your creation, pour the shake into glasses. The excitement builds as you get ready to add the finishing touches. Top each glass with a generous dollop of whipped cream—it should look fluffy and irresistible.
Then, crown each one with a maraschino cherry—because, let’s be honest, who can resist that little pop of sweetness?
5. Sprinkle on the Fun: If you’re feeling extra, go ahead and add some festive green or gold sprinkles on top of the whipped cream for some extra flair. A little crunch adds character, don’t you think?
6. Serve It Right Away: This part is essential—you want your guests to enjoy it at its prime. Serve the shakes immediately and watch those smiles appear as they take their first sip.
And there you have it! In just a few easy steps, you’ve transformed simple ingredients into a delightful Shamrock Shake that’s perfect for any occasion—even if that occasion is just a Tuesday afternoon at home. You can elevate your cooking experience by using premium kitchen gadgets that will make preparing these treats even more enjoyable.
Now go forth and enjoy your shake without any guilt because you’ve earned it!
Tips & Variations
After you’ve whipped up your tasty Shamrock Shake, it might be tempting to down it all in one go—and believe me, I get it.
But here’s a hot tip: if you use high-quality ice cream and whole milk, you’ll guarantee that perfect, creamy texture we all crave.
Oh, and go easy on that mint extract—too much can turn your shake into a mint bomb. Not what we want, right?
If you’re feeling adventurous, try adding chocolate syrup or crushed cookies for a fun twist.
And let’s talk toppings—whipped cream and maraschino cherries are classic, but why not sprinkle some festive green or gold sprinkles on top? Trust me, it’ll elevate your shake from ordinary to extraordinary.
How to Serve?
To serve up your Shamrock Shake like a pro, you’ll want to grab the tallest, most fun glasses you can find—trust me, it makes a difference. I like to use those colorful, whimsical ones that scream “party!”
Once your shake is blended to perfection, pour it generously into your chosen glasses. Don’t skimp—leave that frosty goodness peeking over the edge, it’s more enticing that way.
Now, top it with a mountain of whipped cream—because who doesn’t love a good dollop? Add a maraschino cherry to each shake—it’s like the cherry on top, right?
If you’re feeling extra festive, sprinkle some green or gold sprinkles. Just remember—presentation matters, and you’ll be the Shamrock Shake hero at your next gathering.
Storage & Reheating Guide
Even if you’re not quite ready to finish off that dreamy Shamrock Shake in one sitting, don’t worry—there’s a way to store it for later. Just pour any leftovers into an airtight container and pop it in the freezer.
Trust me; it should be good for about two weeks, but who’s counting? When you’re ready for round two, let it sit out for about 10 minutes. This softens it just enough to scoop without a workout.
You can always microwave it briefly if you’re really impatient, but only for about 15 seconds—just enough to loosen things up. And if things get messy? Well, that’s all part of the fun. I’ve splattered a few times myself, but hey, it’s just ice cream. Remember, enjoying that shake with a quality premium steak knives set can elevate your dining experience!
Final Thoughts
While I’d love to say that every Shamrock Shake is a masterpiece, the truth is, my first attempt ended up more like a frosty disaster—green splatters everywhere.
I mean, seriously, how did I manage to cover the kitchen? But hey, that’s part of the fun, right? Recipe mishaps can lead to some epic memories.
Each time I whip up a shake now, it’s smoother and creamier than the last. I’ve learned to embrace the process, adjust the mint just right, and savor every sip.