When I first tried making Mexican sopaipillas, I had no idea how much fun it would be. Seriously, who doesn’t love fluffy, golden pastries that puff up like little clouds? The sweet aroma wafting through my kitchen made me forget about the flour storm I created. And let’s be honest, if I can whip these up without burning down my kitchen, you can too. Want to know the secret to those perfect little bites? Stick around, and I’ll share all the delicious details.
Why You’ll Love This Recipe
You know, when you bite into a freshly made sopaipilla, it’s like a little cloud of happiness just wrapped itself around your taste buds. I can’t help but smile!
These easy Mexican sopaipillas are super simple to whip up, and trust me, they impress anyone you serve them to. You don’t need to be a culinary wizard either—just a few basic ingredients and some warm water.
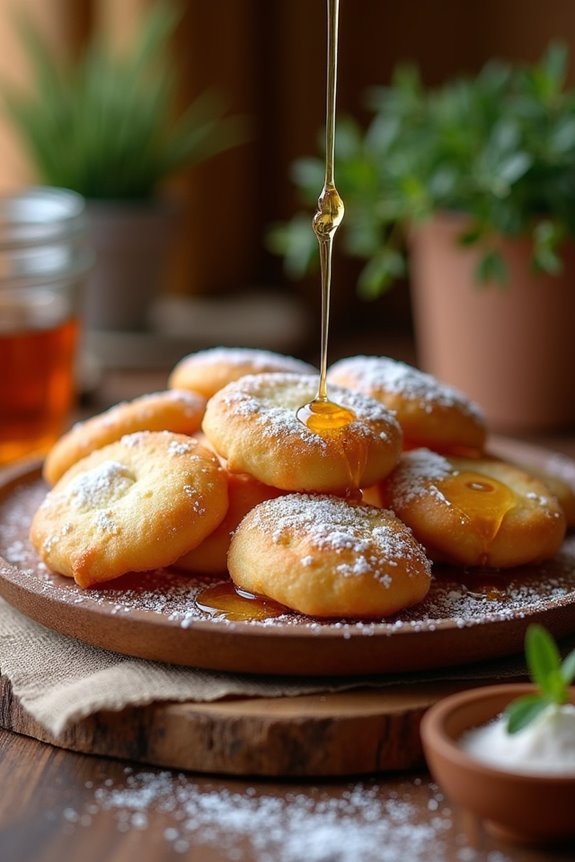
Roll out that dough, cut it up, and in no time, you’ll have golden, fluffy bites. They’re great solo, or you can drizzle honey or sprinkle powdered sugar on top for that sweet touch.
Honestly, what’s not to love? They’re basically happiness in edible form.
Equipment List
Gathering your kitchen tools can feel a bit like assembling the Avengers—each piece plays an essential role in saving the day.
You’ll need a good mixing bowl for your dry ingredients and a sturdy whisk to mix everything without sending flour flying everywhere. Trust me, I’ve been there.
A rolling pin will help you flatten the dough to the perfect thickness, while a sharp knife or pastry cutter makes cutting those squares easy-peasy.
Don’t forget a frying pan or deep pot for the oil—safety first, right? And grab a slotted spoon for those sizzling sopaipillas.
Oh, and paper towels for draining. It’s like cleaning up the crumbs after a delightful battle.
Also, having a quality lemon zester can elevate your dishes with a burst of fresh flavor.
With these tools, you’re ready to create some magic!
Our Ingredients
When it comes to making Easy Mexican Sopaipillas, the ingredients are simple yet oh-so-important. You may have some of them in your pantry already, and that’s the beauty of this recipe; it doesn’t require anything too fancy. A handful of basic items will transform into a delightful treat that’s puffy, crispy, and an absolute joy to devour.
Let’s explore what you’ll need to whip up these delightful little pillows of joy.
- 1 cup all-purpose flour
- 1 ½ tsp baking powder
- ½ tsp salt
- 1 tbsp vegetable shortening
- 1/3 cup + 1 tbsp warm water
- Oil for frying
- Optional: powdered sugar, honey, or cinnamon sugar for serving
Now, before you rush off to gather these ingredients, let’s chat about a few considerations. To begin with, the type of flour matters; all-purpose works best here, but if you’re feeling adventurous, you could try a gluten-free blend.
Shortening is the secret weapon for that perfect texture, so don’t skip it; butter just won’t give you the same result. And remember, the oil for frying should be in the neutral family—think canola or vegetable oil.
When you have the right ingredients, you’re on a solid path to bubbly, puffed goodness. Plus, the options for toppings like powdered sugar or honey will elevate your sopaipillas into a sweet treat that’s hard to resist.
It’s really comforting to know that with just a few simple things, you can create something so delicious. So, are you ready to get cooking?
Step-by-Step Instructions

Making Easy Mexican Sopaipillas is a rewarding experience—simple steps lead to a warm, puffy treat that feels like a hug for your taste buds. Don’t worry if you’re new to frying; mixing the dough and cooking it’s straightforward. Let’s explore the process together!
- Gather Your Ingredients: You’ll need 1 cup of all-purpose flour, 1 ½ teaspoons of baking powder, ½ teaspoon of salt, 1 tablespoon of vegetable shortening, and 1/3 cup plus 1 tablespoon of warm water. Grab some oil for frying and consider what toppings you want—powdered sugar, honey, or cinnamon sugar are all excellent choices.
- Mix the Dry Ingredients: In a large mixing bowl, combine the 1 cup of flour, 1 ½ teaspoons of baking powder, and ½ teaspoon of salt. Give it a gentle whisk to distribute everything evenly. Trust me, this little step is vital for an even texture later on.
- Incorporate the Shortening: Cut in 1 tablespoon of vegetable shortening using a fork or pastry cutter. You want to work it into the flour until the mixture resembles coarse crumbs. If you find yourself losing the battle against little crumbs flying everywhere, take a deep breath—mess is part of the process.
- Add the Warm Water: Gradually stir in 1/3 cup of warm water plus 1 tablespoon more, mixing until a rough dough forms. Now, it’s time to get your hands in there. Knead the dough on a lightly floured surface for about 5 minutes or until smooth. It should feel pliable but not sticky (you want to be able to show off your dough-handling skills).
- Rest the Dough: Wrap the dough in plastic wrap or cover it with a clean kitchen towel. Let it rest for 20 minutes; this helps the dough relax and makes rolling it out much easier. You could take this time to clean up the flour explosion you’ve created.
- Roll Out the Dough: After the dough has rested, roll it out on a floured surface to about 1/8-inch thick. Using a sharp knife or pizza cutter, cut the dough into squares. Don’t worry about them being perfect—quirky shapes add charm, don’t you think?
- Heat the Oil: In a deep skillet, heat your oil over medium heat. You want enough oil to allow the sopaipillas to float—about 2 inches deep should do it. A good test is to drop a tiny piece of dough in; if it sizzles up, you’re ready to fry.
- Fry the Sopaipillas: Carefully place the dough squares into the oil, making sure not to overcrowd the pan. Fry for about 30 seconds on each side until they puff up and turn a lovely golden brown—watch them transform right before your eyes.
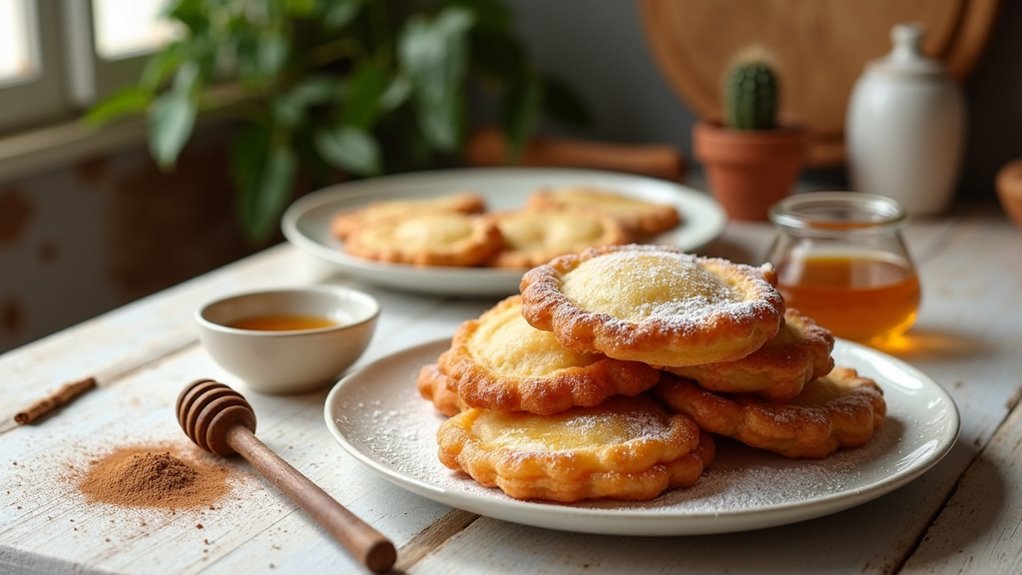
- Drain and Serve: Once they’re golden and fluffy, remove them from the oil and let them drain on paper towels. While they’re still warm, dust them with powdered sugar or drizzle with honey to taste, or, if you’re feeling extra adventurous, sprinkle some cinnamon sugar on top.
And there you have it—delicious, cozy sopaipillas that are sure to put a smile on your face. Whether you enjoy them as a sweet treat or with some savory toppings, they’re nothing short of delightful. Remember, an organized fridge can enhance your cooking experience by keeping your ingredients fresh and accessible.
Tips & Variations
A little creativity goes a long way when it comes to cooking, especially with something as fun as sopaipillas. If you’re feeling adventurous, why not experiment with the dough? You can add a pinch of cinnamon or nutmeg for a hint of spice.
I’ve even tossed in some cocoa powder before, and it was a sweet surprise. Don’t stress too much about the oil; I find canola works best since it has a clean taste.
And here’s a little secret: to help them puff up nicely, try spooning hot oil over the dough while frying. Trust me, it’s like a warm hug for your sopaipillas.
Just remember to keep practicing—you’ll perfect it in no time!
How to Serve?
Serving up sopaipillas is where the fun really begins, and trust me, you’ll want to get creative. Imagine this: you’ve got a stack of warm, golden sopaipillas just waiting to be dressed up. I love to sprinkle some powdered sugar on top, or drizzle honey all over them—who can resist that?
If I’m feeling extra adventurous, a dash of cinnamon sugar makes everything better. You could even serve them alongside a fruity salsa or chocolate sauce for dipping—it’s like a sweet fiesta on your plate.
Just grab a few, break them open, and let the warm, fluffy goodness fill your senses. Trust me, it’s a delightful experience every time. Who wouldn’t want to jump into that?
Storage & Reheating Guide
While it’s tempting to devour every last sopaipilla right after frying, you might want to save some for later—a smart move, really.
To store them, let those golden beauties cool completely, then pop them into an airtight container. They’ll cozy up nicely in the fridge for about three days.
If you’re feeling adventurous and have a few extra, freeze them! Just layer parchment paper between the sopaipillas and stash them in a freezer bag.
When you’re ready to enjoy them again, simply reheat in a toaster oven until crisp, or in the microwave for a few seconds, though that might make them a little soft—a small price to pay for a tasty treat. Additionally, using gourmet kitchen gear can enhance your cooking experience, making it even more enjoyable.
Trust me, it’s worth it!
Final Thoughts
Making these easy Mexican sopaipillas isn’t just about cooking; it’s about creating a little moment of joy in your kitchen. Trust me, watching those little squares puff up in the hot oil is like magic. You can’t help but smile, even if you accidentally splatter oil everywhere like I sometimes do.
The best part? They’re super versatile. Drizzle some honey or sprinkle powdered sugar, and you’ve got a treat that feels fancy but is oh-so-simple. If you’re feeling adventurous, maybe toss some cinnamon sugar on top. Who wouldn’t want to try more than one?


