I’ve got a treat for you—self-saucing lemon pudding. It’s creamy, zesty, and somehow makes its own sauce as it bakes. Sounds fancy, right? But don’t worry, it’s super simple. I remember the first time I made it; I was convinced I’d ruin it. Spoiler alert: I didn’t. Each bite is a perfect balance of sweetness and zing that makes you want another spoonful. Ready to impress your taste buds? Let’s get started.
Why You’ll Love This Recipe
When I first discovered this Air Fryer Zucchini Fries recipe, I thought, “Finally, a way to enjoy veggies without feeling like I’m munching on cardboard.”
Seriously, who doesn’t love crispy, crunchy fries that don’t weigh you down? I mean, these air fryer zucchini fries are a game changer. They’re golden, perfectly seasoned, and you can feel good about eating them.
I really appreciate how quick they’re to whip up—no lengthy cooking sessions here. Plus, the panko breadcrumbs add that perfect crunch, making them even more irresistible.
And hey, if you’re feeling fancy, serve ’em with marinara. Trust me, your friends will think you’re a kitchen wizard.
Equipment List
Before diving into making those crispy, golden air fryer zucchini fries, you’ll want to gather a few essential tools. First, I can’t stress enough how much you’ll need a sharp knife; cutting zucchini into uniform fries is key.
You’ll also want a cutting board so you don’t end up with a messy countertop—trust me, I’ve been there. A couple of bowls are a must: one for the flour mix and another for the egg wash. If you’ve got a whisk, fantastic! It’s perfect for blending those eggs smoothly.
Finally, grab your air fryer; the magic happens here. Oh, and don’t forget cooking spray—nobody likes sticking fries. With these tools, you’re all set for some crunchy goodness. A professional pizza oven can provide consistent temperature control to achieve perfectly cooked dishes like your zucchini fries.
Our Ingredients
Before we plunge into that luscious lemon pudding recipe, let’s chat about the ingredients you’ll need. Getting the right components together is essential for crafting that creamy, zesty goodness.
You’ll want to have everything organized on your kitchen counter—think of it as your little assembly line. Plus, it saves you trips back and forth to the pantry, which can sometimes feel like a workout. So, let’s take a look at what you need for this dessert that’s sure to impress.
Here’s a handy list of ingredients for our indulgent lemon pudding:
- Fresh lemons (for juice and zest)
- Granulated sugar
- Eggs (you’ll need both yolks and whites)
- Whole milk
- Cornstarch
- Unsalted butter
- A pinch of salt
- Optional: a hint of vanilla extract for added flavor
When it comes to the lemons, freshness really matters. If you can, go for those bright, juicy ones; they make all the difference in flavor.
And if you happen to have a lemon tree in your backyard, well, aren’t you lucky? One little squeeze and you’re in citrus heaven. As for the sugar, don’t skimp—it’s the sweet embrace that rounds out the tartness of the lemons, creating a beautifully balanced pudding.
Cornstarch is your thickening agent, and while it might seem like a simple ingredient, it works wonders in transforming your mixture into a dreamy, pudding-like texture. So gather your ingredients, roll up your sleeves, and let’s get ready to create some citrusy bliss.
Step-by-Step Instructions

Making lemon pudding is a delightful culinary adventure that promises to release a burst of zesty goodness in every spoonful. Mixing the batter is quick and simple—just follow these easy steps, and soon you’ll have a creamy lemon treat that will impress everyone at the table.
Ready to jump into this deliciousness? Let’s do this!
1. Zest and Juice the Lemons: Start by grabbing those fresh lemons. You’ll need enough to yield about ½ cup of juice and a bit more for zest. Zest a couple of lemons to get that bright, citrusy flavor, then juice them until you have the needed amount.
(Pro tip: Roll the lemons on the counter first to make juicing easier).
2. Combine Sugar and Eggs: In a mixing bowl, whisk together 1 cup of granulated sugar and the yolks of 4 eggs until the mixture turns a pale yellow. This usually takes about 2-3 minutes. You want it to be smooth, but don’t worry if you get a little workout in the process.
3. Thicken with Cornstarch**: In a separate bowl, mix ¼ cup of cornstarch with a pinch of salt**. Then, slowly add this to the egg and sugar mixture, whisking carefully to prevent any lumps from forming. We’re looking for that silky texture here.
4. Heat the Milk: In a saucepan, pour in 2 cups of whole milk and bring it to a gentle simmer over medium heat. Keep an eye on it, stirring occasionally, until it’s steaming but not boiling—nobody wants to clean up that mess.
5. Combine Everything: Once your milk is ready, it’s time to combine it with your egg mixture. Slowly drizzle the hot milk into the egg mixture while continuously whisking. This step is imperative; you want to temper the eggs so they don’t scramble.
(Think of it like lounging in a hot bath—ease into it).
6. Cook the Mixture: Pour this combined mixture back into the saucepan. Cook it over medium heat, stirring constantly with a spatula until it thickens. This should take about 5-7 minutes. You’ll know it’s ready when it coats the back of the spatula.
7. Add Butter and Flavor: Remove the thickened pudding from heat, and stir in 2 tablespoons of unsalted butter and optional vanilla extract. Whisk until the butter is melted and everything is nicely blended.
How good does that smell?
8. Chill and Serve: Transfer your pudding to a bowl or individual serving dishes. Cover the surface with plastic wrap (this prevents a skin from forming) and let it chill in the fridge for at least 2 hours.
If you’re anything like me, this is the hardest part—waiting can be torture.
And there you have it! After some simple steps, you’ve crafted a homemade lemon pudding that’s creamy, tangy, and oh-so-satisfying. Choosing a high-end blender can elevate your drinks and culinary creations even further.
Get those spoons ready; it’s time to partake in your citrusy creation. If you’re feeling adventurous, consider topping it off with some whipped cream or fresh berries for that extra flair. Enjoy every spoonful of this indulgence!
Tips & Variations
Whether you want to elevate your lemon pudding game or just mix things up a bit, there are plenty of tips and variations to explore.
For a zingy twist, why not add a teaspoon of lime or orange zest? That brings a burst of freshness. If you’re feeling adventurous, swap out some of the all-purpose flour for almond flour for a nutty flavor.
And we can all use a little more indulgence, right? Try topping your pudding with fresh berries or a dollop of whipped cream for texture.
Don’t forget to keep an eye on the baking time, as ovens can be sneaky. Sometimes mine gets too excited.
How to Serve?
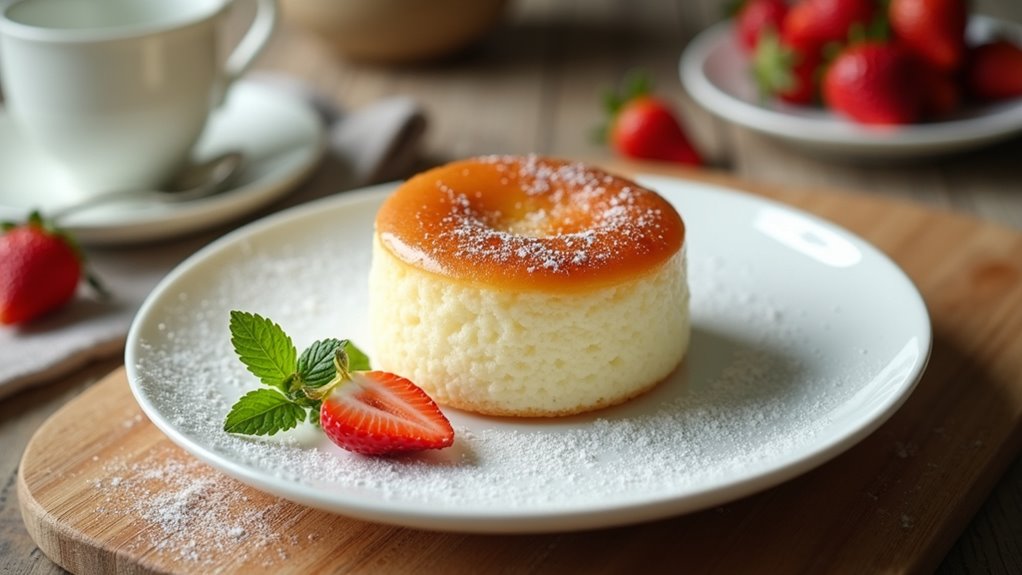
Serving lemon pudding can be as delightful as making it. Imagine this: you scoop out that warm, luscious pudding, and the tangy aroma fills the room.
I like to serve it in individual ramekins for a touch of elegance. A dollop of whipped cream on top? Yes, please. And don’t forget a sprinkle of zesty lemon zest for that pop of color and extra zing.
Friends ask me how I get it so fluffy. Honestly, it’s all in the mix. I usually grab some fresh mint leaves to add a little greenery.
Who doesn’t love a garnish? And if you’re feeling daring, drizzle some raspberry sauce around the edge. It’s all about the experience, right?
Enjoy every spoonful; you earned it!
Storage & Reheating Guide
After you whip up that indulgent lemon pudding and share it with friends, you might be left with some leftovers—and let’s be honest, who wants to waste that delightful goodness?
To store your pudding, simply cover it with plastic wrap or transfer it to an airtight container and pop it in the fridge. It’ll stay fresh for about three days, but trust me, it’s hard to resist devouring it sooner.
When you’re ready to enjoy it again, gently reheat it in the microwave. Not too hot, just warm—don’t want to turn it into a lemon soup. I’ve definitely made that mistake before!
A sprinkle of fresh lemon zest on top can elevate it even more when you serve it again. Be sure to use quality freezer storage bags if you want to save some portions for a later date.
Final Thoughts
So you’ve got some lemon pudding leftovers stashed away, huh? Lucky you. I can’t tell you how much joy that velvety goodness brings me.
When you plunge into that creamy texture, it’s like magic happening in your mouth. Trust me, reheating is a treat; just warm it slightly for that fresh vibe.
And if you’re feeling adventurous, drizzle in some whipped cream or toss in fresh berries. Seriously, who says leftovers can’t be gourmet? I’ve even been known to have it for breakfast—don’t judge.
Life is short; enjoy those sweet moments. So, the next time you find yourself with extra lemon pudding, remember—embrace the indulgence.
You’ve earned it, right? Happy indulging, my fellow dessert lover!