I’ve gotta say, there’s something special about a salad that pops with color and crunch, right? The Vibrant Raw Beet Salad with Apples and Carrots is one of those dishes that seems simple but surprises you with its sweetness and earthiness. I mean, who doesn’t love the idea of mixing raw beets, apples, and carrots together? Plus, it’s a breeze to whip up, even if you’re like me and occasionally confuse your grater with your cheese slicer. Want to know the best part?
Why You’ll Love This Recipe
You know, it’s hard not to love a recipe that combines convenience with that warm, homemade goodness.
Homemade pizza pockets are pure comfort food, right? I mean, who doesn’t adore a crispy, cheesy pocket bursting with flavor? It’s like pizza, but portable and less messy, which is ideal for my life (trust me, I need all the help I can get).
Plus, they’re super easy to make. Just roll out some dough, fill it with your favorite toppings, and voilà! You’ve got a crowd-pleaser in minutes.
And if you’re like me, you’ll enjoy experimenting with different fillings.
Let’s be honest: have you ever met a pizza pocket you didn’t love? They bring smiles, laughter, and just enough nostalgia to warm your heart.
Equipment List
You’ll need a baking sheet, which is pretty standard; don’t skimp here, or your pizza pockets will get soggy. Parchment paper is also a must. It saves you from unnecessary scrubbing later and helps them bake evenly.
A sharp knife works wonders for cutting the dough – I’ve learned that the hard way. A fork is vital for sealing those edges tight, so your cheesy goodness stays inside.
And if you’ve got a basting brush, great! It makes oiling the tops a breeze. Additionally, having a good cutting board set can greatly improve your food prep process. Ready? Let’s get cooking!
Our Ingredients
When it comes to making delicious homemade pizza pockets, you want to arm yourself with the right ingredients. They’re the heart of this recipe, and each one plays a key role in creating that perfect mix of cheesy, saucy goodness wrapped in a crispy crust. Trust me, once you have these ingredients lined up, you’re going to feel like a pizza pocket pro.
You might even wander into the kitchen a bit like a superhero, cape waving, ready to tackle some serious snacking.
Here’s what you’ll need for your pizza pockets:
- 1 tube pizza crust dough
- 6 tablespoons pizza sauce
- 1 cup shredded mozzarella cheese
- 12 slices of pepperoni
- Olive oil (optional, but highly recommended)
- Oregano (optional, but gives a nice zing)
Now, it’s easy to overlook how important these ingredients are – each one brings a little something special to the table. The pizza crust dough is your sturdy foundation, ready to cradle all that melty cheese and flavorful sauce.
Pizza sauce? That’s the star of the show, adding tangy goodness to every bite. And don’t forget the mozzarella, which melts like a dream, creating those gooey cheese pulls that always impress.
Pepperoni adds some spice and a meaty kick, but you can totally switch it up with veggies or other toppings, if that’s your thing. And if you’re feeling fancy, a sprinkle of oregano or a brush of olive oil on top can really elevate your pizza pockets, giving them that “just like the pizzeria” vibe.
Step-by-Step Instructions

Making homemade pizza pockets is an absolute treat, and trust me, it’s as fun as it sounds. You’ll be rolling dough, spreading sauce, and feeling like a culinary artist. Plus, these little pockets of joy are perfect for snacking, lunch, or whenever you need a pick-me-up. So, let’s dive right into the step-by-step process of making these delicious bites.
1. Preheat your oven: Begin by preheating your oven to 425°F (that’s a cozy, toasty temperature).
While the oven warms up, line a baking sheet with parchment paper. This will prevent any sticky situations when it’s time to serve.
2. Prepare the dough: Grab your 1 tube of pizza crust dough and roll it out until it’s nice and flat.
You want it to be about ¼ inch thick, not too thin, or you might end up with holes—yikes.
Once it’s flattened, cut the dough into 6 equally sized squares. Don’t sweat it if they’re not perfect; they’re going to taste amazing regardless.
3. Layer your fillings: On one half of each square, place 1 tablespoon of pizza sauce, spreading it out like you’re painting a masterpiece.
Top it off with ⅙ of the 1 cup of shredded mozzarella cheese, followed by 2 pepperoni slices.
And hey, if you feel adventurous, toss in some veggies or other toppings you love.
4. Fold and seal: Now, fold over the other half of the square onto your toppings like you’re creating a pocket of happiness.
Press the edges together gently at first, then seal them tightly using a fork.
This step is significant—think of how sad you’d be if all that deliciousness leaked out during baking.
5. Brush and season: For a touch of flair, brush a little olive oil on top of each pocket.
This will help them get that golden, crispy finish we all crave.
If you have some oregano lying around (or feel like a pro), sprinkle a bit on top for an extra flavor boost.
6. Bake to perfection: Place your beautifully prepared pizza pockets on the baking sheet and pop them into the preheated oven.
Bake for 10-13 minutes, or until they turn golden brown and look like little puffs of deliciousness.
Try not to drool while you wait.
7. Cool and enjoy: Once they’re done baking, take them out and let them cool for just a minute.
Seriously, they might be lava hot.
Serve them with extra dipping sauce on the side for that extra oomph.
And there you go! You’ve just made homemade pizza pockets that will impress even the pickiest eaters around. Essential kitchen appliances like pizza makers can elevate your cooking experience.
Have fun experimenting with different fillings and sauces, and remember: practice makes perfect!
Who knows, soon you might be the reigning pizza pocket champion in your household.
Tips & Variations
Even though this vibrant beet salad is already a crowd-pleaser, there’s always room for a little creativity and personalization.
For a twist, try adding some nuts for crunch—walnuts or almonds work wonders. You could even throw in some feta cheese if you’re feeling a bit fancy; it adds a salty kick that balances the sweetness of the beets.
If you want to amp up the citrus flavor, a splash of orange juice will brighten things up. Don’t forget to adjust the seasoning based on your taste; I sometimes go a tad heavy on the salt because, well, I’m a little obsessed.
And hey, leftovers? They’re even better the next day, trust me.
How to Serve?
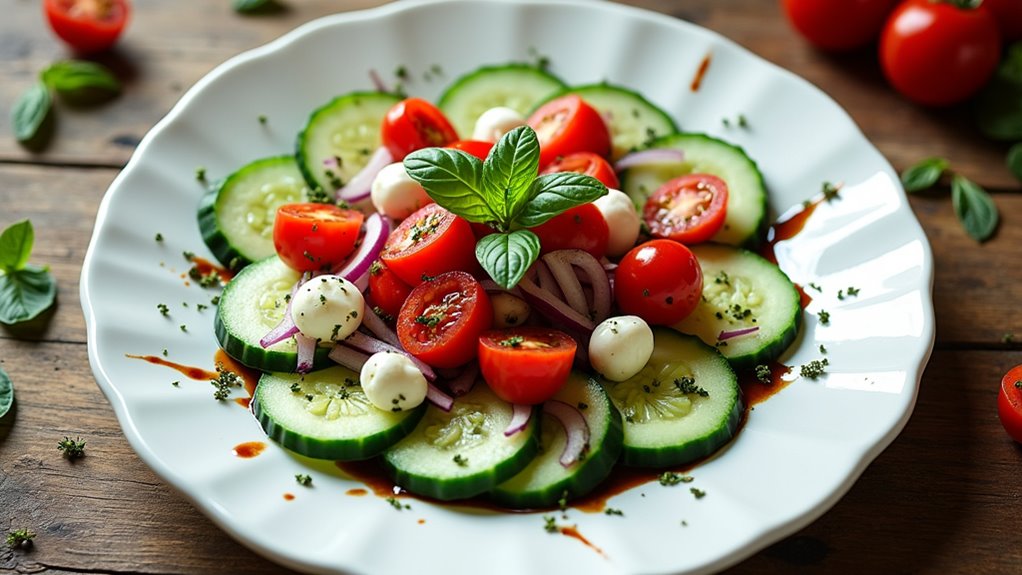
Serving a beet salad is like giving your guests a burst of color right on their plates. I love to plate this salad in shallow bowls; it looks so inviting.
Drizzle a little extra lemon juice on top for a zesty kick, and maybe toss on some toasted nuts for crunch—who doesn’t adore that surprise element? To really impress, I sometimes garnish with fresh herbs. It adds that perfect touch, don’t you think?
If you’re feeling fancy, serve it alongside some crusty bread or a light protein. Just remember, presentation matters. I’ve learned the hard way; if I don’t make it eye-catching, guests might overlook it. Trust me, this salad deserves all the attention it can get.
Storage & Reheating Guide
While you might think a salad is best enjoyed fresh, there are some great ways to store and reheat your beet salad without losing that vibrant flavor.
First, don’t forget to pop it in an airtight container in the fridge. It’ll stay crisp for about 3 days. Just remember, the apples might turn slightly brown, but they’re still delicious.
As for reheating, you really don’t need to—raw beets are all about that fresh crunch. But if you insist on warming it up, try a quick sauté on low heat; just a minute should do it.
I’ve learned the hard way that too much heat turns it into a mushy mess. And trust me, nobody wants that! Also, if you enjoy making fresh ingredients like beet salad at home, consider investing in a mozzarella cheese maker machine to elevate your culinary skills.
Final Thoughts
After chatting about how to store and reheat your beet salad, it’s time to wrap things up.
I love how this salad combines vibrant flavors and crunchy textures. Seriously, who knew beets could be so fun?
If you’ve never tried raw beets before, you’re in for a treat. They’re sweet, earthy, and pair beautifully with apples and carrots. I can’t help but smile every time I make it.
Just remember, adjust the ingredients based on your taste—extra apples for sweetness, maybe? And if you’re feeling adventurous, toss in some nuts or feta for added flair.
Whether it’s a side dish or a meal, this colorful salad has got your back. Enjoy the crunch and vibrant colors, and happy cooking!