I’ve got to tell you about Gordon Ramsay’s Chocolate Mousse Recipe. Seriously, it’s a game-changer. You won’t believe how easy it is to whip up this rich, velvety delight with just a few ingredients. I mean, who wouldn’t want to impress friends or treat themselves to a bit of luxury? Imagine this: chocolate in a glass, all elegant and delicious. But hang on, I’ll let you in on the steps—and trust me, you won’t want to miss this.
Why You’ll Love This Recipe
If you’re on the lookout for a show-stopping dessert, this chocolate mousse recipe is a solid five-star winner in my book.
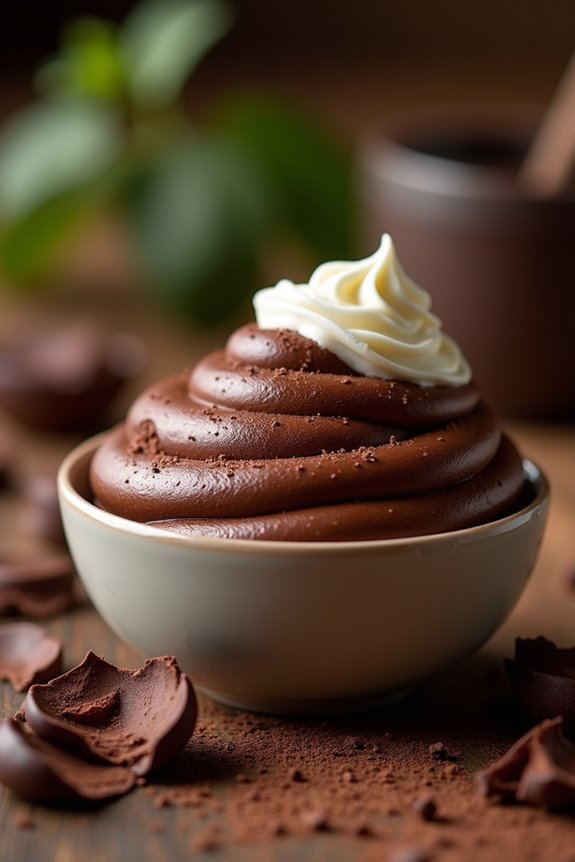
Trust me, the Gordon Ramsay chocolate mousse is pure indulgence. It’s like a dream you didn’t know you could taste. Imagine this: rich, velvety chocolate that practically melts in your mouth, paired with the lightest whipped cream you could imagine.
The best part? You can whip it up with just a handful of ingredients, and everyone will think you’ve got some secret chef skills.
Plus, it’s perfect for impressing guests or enjoying a solo treat after a long day. Who doesn’t love a dessert that feels fancy without all the fuss?
Seriously, give it a try.
Equipment List
Getting ready to whip up Gordon Ramsay’s decadent chocolate mousse? Before diving into the ingredients, let’s talk about what you’ll need. Grab yourself a mixing bowl—a good-sized one, please—and a separate bowl for those egg whites. If you have a whisk, fantastic! If not, a hand mixer works wonders too. Don’t forget a heatproof bowl for melting chocolate; it’s a must. You’ll also need a measuring scale for precision—trust me, it helps. A rubber spatula is perfect for folding in those airy egg whites, and your favorite serving bowls for that gorgeous mousse. An Apple Corer is an excellent tool for making your kitchen experience smoother when you’re preparing desserts with fruits. Got it all? I can almost taste the chocolatey goodness already, even if my kitchen sometimes looks like a disaster zone. Let’s do this.
Our Ingredients
When it comes to whipping up Gordon Ramsay’s chocolate mousse, you’ve got to set the stage with the right ingredients.
Now, don’t let the fancy name scare you off. This delightful dessert is made with just a handful of items you might already have in your kitchen or can easily grab at the store. Let’s get that shopping list ready, shall we?
Here’s what you’ll need:
- 125g dark cooking chocolate (70% cocoa)
- 55g eggs (separated)
- 10g unsalted butter
- 120ml full-fat cream
- 3 tbsp caster sugar
- Optional: whipped cream and chocolate shavings for decoration
Now, before you race off to the grocery store, let’s chat about some of these ingredients.
First off, the dark chocolate is your star player; go for the good stuff (70% cocoa or higher) because trust me, nobody wants a bland mousse.
The cream? Full-fat is the way to go for that rich, silky texture. Eggs, well, they need to be room temperature, so don’t just grab them from the fridge.
And sugar—caster sugar is best because it dissolves like magic in your mixture, making the mousse super smooth.
Oh, and if you’re feeling fancy with the optional whipped cream and chocolate shavings, go for it. It’s all about that presentation, right?
Step-by-Step Instructions
Making Gordon Ramsay’s chocolate mousse isn’t only a delicious endeavor; it’s also a fantastic way to impress your family and friends. Mixing that dark chocolate with fluffy cream and airy eggs sounds like a complex undertaking, but I promise it’s easier than it seems. Just follow these straightforward steps, and you’ll be on your way to a rich, indulgent treat.
- Prepare the Eggs: Start by separating 55g of eggs, making sure the yolks and whites go into different bowls. Allow them to come to room temperature, as this helps with the whipping later (plus, nobody likes chilly eggs in their mousse).
- Whisk the Yolks: In a clean bowl, whisk those egg yolks until they’re smooth and slightly thickened, which usually takes a few minutes. You want them to look a little creamy and luscious, setting the tone for the whole dessert.
- Melt the Chocolate: Grab 125g of dark cooking chocolate (aim for 70% cocoa for depth of flavor) and 10g of unsalted butter. Melt them together over a gentle heat, stirring until smooth, then let it cool slightly. A tip here: don’t walk away, or you might end up with burnt chocolate. Nobody wants that.
- Whip the Cream: In another bowl, whip 120ml of full-fat cream until it forms stiff but silky peaks. You’re looking for that perfect cloud-like texture—keep an eye on it. Whipping it too long can turn your cream into butter, and well, that’s just not dessert.
- Whip the Egg Whites: Now it’s time to give some love to those egg whites. Whisk them in a clean bowl until they start to hold their shape, then gradually add in 3 tablespoons of caster sugar. Continue beating until they reach firm, shiny peaks that practically scream “I’m ready to be folded in!”
- Combine the Yolks and Cream: Gently fold the whipped yolks into the whipped cream. Be soft with your movements, as you want to keep the mixture light and airy—imagine you’re cradling a tiny soufflé.
- Incorporate the Chocolate: Now, fold in the cooled melted chocolate into the yolk and cream mixture. Again, be gentle—it’s all about maintaining that fluffy texture.
- Add the Egg Whites: Finally, it’s time for the egg whites. Fold those bad boys in one third at a time. This method helps to keep the volume. Be patient and don’t rush it! You want that mousse to have plenty of airy bubbles, so your dessert is light and delightful.
- Chill Out: Spoon your beautiful mousse into serving bowls (or fancy cups, if you’re feeling posh), and cover them gently. Chill for at least 6 hours—or overnight if you can resist!
- Serve and Enjoy: When you’re ready to serve, top with a dollop of whipped cream and a sprinkle of chocolate shavings if you’re feeling generous. Then, dig in and savor every spoonful of your creation.
And there you have it, a wonderfully rich and creamy dessert that will have everyone asking for seconds. Who knew elegance could be so simple? To enhance your mousse-making experience, consider using premium kitchen appliances that can help you achieve perfect textures and temperatures. Happy mousse-making!
Tips & Variations
After whipping up that luscious chocolate mousse, you might be wondering how to take it to the next level or keep the fun going with different spins.
Maybe toss in a splash of espresso for a mocha twist, or try using white chocolate for a sweeter treat. I once added a swirl of raspberry purée—it was a game-changer.
Feeling adventurous? You could experiment with flavored extracts, like orange or mint. Oh, and for crunch, sprinkle in some nuts or cookie crumbles. Trust me, you’ll love the extra texture.
Don’t forget, you can adjust the sweetness too; a little more sugar never hurt anyone, right?
Just remember, messing around in the kitchen might lead to delicious surprises or, well… disaster.
How to Serve?
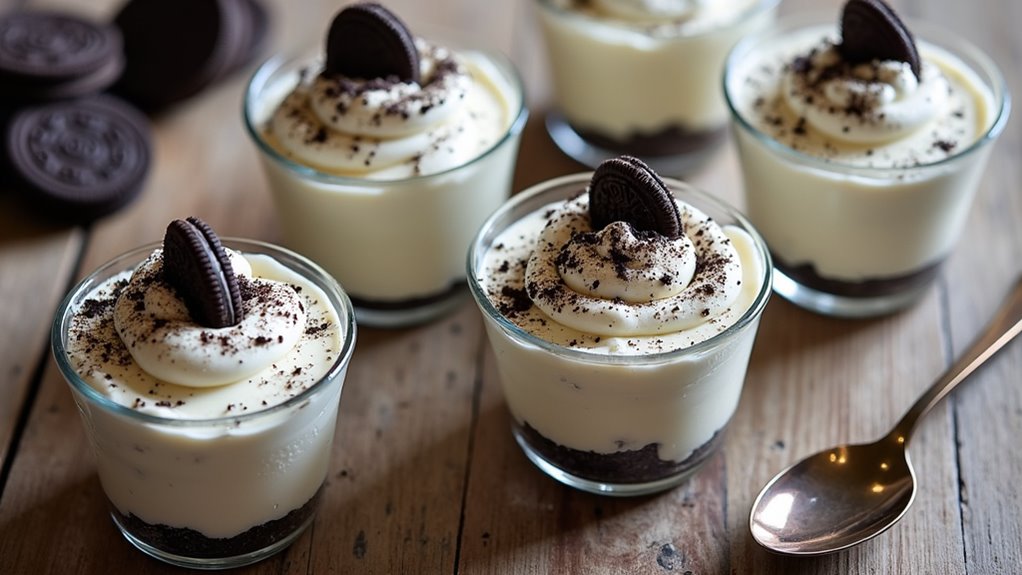
Serving chocolate mousse is half the fun and all about presentation. I love using cute little glass cups; they make everything feel special. Just imagine bright, shining chocolate nestled inside, waiting to be devoured.
After chilling, I plop a dollop of whipped cream on top—because who doesn’t love whipped cream? Sometimes, I sprinkle chocolate shavings for that extra bit of fancy. Feeling adventurous? I’ll even add a fresh berry or two for a pop of color.
Trust me, your guests will be impressed. You can always throw in a playful comment about how it took ages to perfect this deliciousness. Just don’t let them know the secret ingredient is a sprinkle of love—or was it butter?
Storage & Reheating Guide
While it might be tempting to dive right into that luscious chocolate mousse after it’s made, knowing how to store and potentially reheat it is essential for keeping it in excellent shape.
I usually cover it tightly with plastic wrap or transfer it to an airtight container before stashing it in the fridge. It can last up to four days, but honestly, good luck with that.
If you’ve got leftovers, I suggest letting it sit at room temperature for about 15 minutes before digging in again. You don’t want it to turn into one big chocolate lump, right?
Reheating isn’t recommended, though—you’ll lose that lovely airy texture. Trust me, it’s best enjoyed cold and creamy. Plus, using an adjustable rolling pin can help you create even layers if you decide to make more desserts to accompany your mousse.
Final Thoughts
Though chocolate mousse might seem like a fancy dessert fit for a five-star restaurant, I promise you it’s one of the easiest indulgences to whip up right at home.
Seriously, with just a few ingredients, you can impress your friends and family. The rich, creamy texture hits all the right spots, doesn’t it?
I still remember my first attempt; I almost forgot to fold the egg whites properly, and let’s just say it didn’t look pretty. But hey, it still tasted amazing.
You can customize it however you want—add some whipped cream or sprinkle chocolate shavings on top.
Trust me, once you try this Gordon Ramsay recipe, you’ll become the dessert hero in your kitchen. Enjoy every decadent bite.