I’ve been making these Elegant Vanilla French Beignets for years, and honestly, it’s like a warm hug in pastry form. The way they puff up and turn golden brown always astounds me, even after all this time. Sure, I’ve had my fair share of kitchen mishaps—remember that time I forgot the powdered sugar? But when they come out of the fryer, light and airy, it all feels worth it. Ready to make some magic in your own kitchen?
Why You’ll Love This Recipe
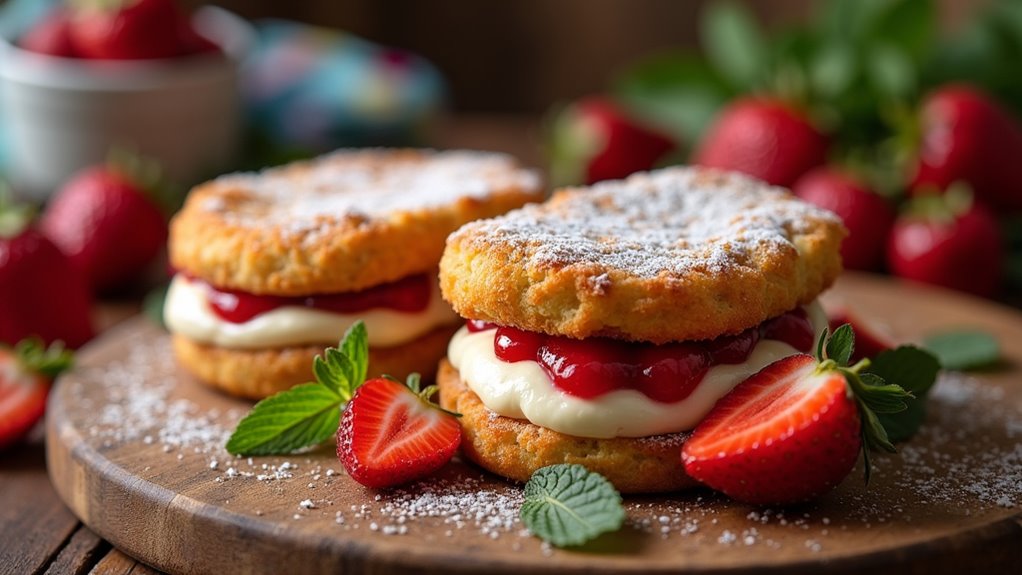
Have you ever tasted a beignet dusted with powdered sugar, feeling that warm, fluffy goodness melt in your mouth?
That’s exactly what you get with these vanilla French beignets, and let me tell you, they’re life-changing.
The sweet aroma of vanilla wafts through your kitchen while the dough rises, setting the scene for something amazing.
When you bite into these airy treats, it’s like a hug in food form. The crispy exterior crumbles just right, revealing that soft, pillowy inside. Plus, they’re surprisingly easy to make!
I once had a mini disaster where my oil was too hot, and let’s just say, I’d some well-done beignets. They still tasted great—just a tad crunchy!
Trust me; you’ve gotta try them.
Equipment List
If you’re ready to whip up some of these delightful beignets, let’s talk about the gear you’ll need to make it happen.
First, grab a large mixing bowl—trust me, we’re going to do some serious mixing. You’ll also want a whisk; it’s essential for blending those wet and dry ingredients.
A rolling pin? Yup, it’s vital for rolling out the dough. And don’t forget a sharp knife or a pizza cutter for cutting those perfect squares.
For frying, a deep pot or heavy skillet works best, and a candy thermometer is the cherry on top. I didn’t use one once and let’s just say, it was an oily mess.
You’ll also need paper towels and powdered sugar for serving! Plus, consider including an artisan cheese making kit to explore more culinary delights while you’re at it.
Our Ingredients
Let’s explore the scrumptiously sweet world of Vanilla French Beignets. Honestly, there’s just something about sinking your teeth into these fluffy, airy treats, coated in a flurry of powdered sugar, that feels like a little bite of heaven, isn’t there?
Whether you’re planning a fancy brunch, celebrating with friends, or just treating yourself (hey, you deserve it), having the right ingredients is your first step to frying up a delightful batch of these little pillows of joy.
Here’s what you’ll need to gather up:
- 2 ½ cups all-purpose flour
- ¼ cup granulated sugar
- 2 teaspoons active dry yeast
- ½ teaspoon salt
- 1 cup warm milk
- 1 tablespoon unsalted butter, melted
- 1 tablespoon pure vanilla extract
- Vegetable oil (for frying)
- Powdered sugar (for dusting)
Now, before you dash off to the kitchen, let’s take a moment to chat about these ingredients. The flour is your backbone, giving structure to the beignets, while the sugar adds that delightful sweetness that dances on your tongue.
And don’t skimp on the vanilla—it’s what gives these puff pastries their unforgettable flavor. You might wonder, “What’s the difference between active dry yeast and fresh yeast?” Well, let’s just say that active dry yeast gives you that lovely rise, and trust me, it’s worth using the right type here.
Plus, those little yeast bubbles will work their magic to create a texture that’s light as a cloud. Oh, and when it comes to the milk, just make sure it’s warm—not hot—so you don’t accidentally kill your yeast. A little patience goes a long way, friends.
Now, are you ready? Let’s move on to the step-by-step instructions to bring these beauties to life!
Step-by-Step Instructions

Making Vanilla French Beignets is a delightful adventure in the kitchen, and I promise you, it’s easier than it sounds. Just follow these simple steps, and soon enough, you’ll be biting into those sweet, fluffy clouds dusted in powdered sugar. So, grab your apron, and let’s get started!
1. Combine the Dry Ingredients**: In a large bowl, mix together 2 ½ cups of all-purpose flour, ¼ cup of granulated sugar, 2 teaspoons of active dry yeast**, and ½ teaspoon of salt. Give them a good whisk—it’s like a little dance party in there.
2. Prepare the Wet Ingredients: In a separate bowl, whisk together 1 cup of warm milk (make certain it’s not too hot, or it’ll be a party crasher for your yeast), 1 tablespoon of melted unsalted butter, and 1 tablespoon of pure vanilla extract.
This is where the magic starts: the warm milk activates the yeast, making those beignets rise to dreamy perfection.
3. Mix it Up: Gradually pour the wet mixture into the dry ingredients. Stir it until a dough starts to form. Think of it as bringing everything together for one fantastic high-five.
4. Knead the Dough: Lightly flour your countertop and turn the dough out onto it. Knead the Dough for about 8-10 minutes, or until it’s smooth and elastic.
(Similar to working out—don’t give up too soon; those lovely gluten bonds need a little stretching!)
5. Let it Rise: Place the kneaded dough into an oiled bowl, cover it with a clean kitchen towel, and let it rise for about 2 hours. You want it to double in size, so be patient.
This is a good time to catch up on your favorite show or take a little nap.
6. Roll and Cut the Dough: Once your dough has risen, punch it down (gently, of course, we’re not angry with it!). Roll the dough out to about ½ inch thick.
Then cut it into squares—about 2 inches by 2 inches. They don’t have to be perfect squares; be it messy or fancy, they’ll still taste amazing!
7. Heat the Oil: In a deep fryer or heavy pot, heat vegetable oil to 360°F. Use a candy thermometer—it’s super helpful and guarantees perfect cooking.
(Trust me, trying to eyeball hot oil never ends well unless you’re a superhero.)
8. Fry the Beignets: Carefully drop 3-4 pieces of dough into the hot oil at a time, frying until they’re golden brown on both sides, about 3-4 minutes total.
Try not to overcrowd the pot; let them relax and enjoy their oil bath.
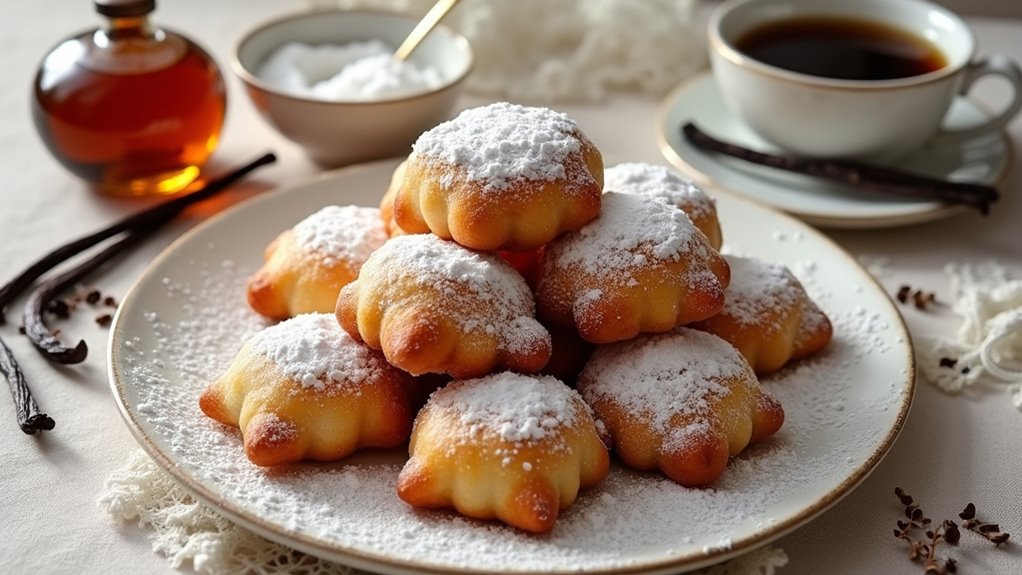
9. Drain and Dust: Once they’re golden, remove the beignets from the oil and let them drain on paper towels. Then, while they’re still warm, give them a light dusting of powdered sugar—the more, the merrier!
And voilà, your beignets are ready to be devoured. Honestly, they can be a little messy, but isn’t that part of the fun? So, grab a friend or two, make a big batch, and enjoy the sweet goodness together.
After all, sharing is caring—unless it’s the last beignet; then it might spark a friendly debate. Remember, to enhance your baking experience, using premium baking equipment can make a significant difference in achieving the best results.
Tips & Variations
What can elevate your vanilla French beignets from tasty to absolutely extraordinary?
First, experiment with flavor! Add lemon zest or almond extract for a twist that’ll wow your taste buds. Wanna add a little crunch? Toss in some finely chopped nuts. I’ve even tried chocolate chunks—oh, the bliss!
Temperature is key, so grab a candy thermometer; I used to go without one and my beignets were either burnt or doughy.
It’s all about that perfect oil temp. By the way, resist the urge to overcrowd the fryer; it’s a common rookie mistake I’ve made. Plus, don’t skip the dusting of powdered sugar—it’s like a cozy hug for these fluffy delights.
Happy frying!
How to Serve?
Serving up vanilla French beignets can transform a simple gathering into a delightful experience.
Imagine this: warm, fluffy beignets, dusted with powdered sugar, sitting in the center of your table. I like to arrange them on a lovely platter; the presentation matters! Serve them with a side of rich, dark coffee or a cup of hot cocoa—nothing beats that combo.
As guests engage, you can bet there’ll be smiles and maybe a sprinkle of powdered sugar on their noses.
Do you ever find yourself going back for seconds? I know I do.
And remember, my kitchen may look like a flour bomb went off, but the joy these beignets bring makes every mess worth it. It’s all about the fun!
Storage & Reheating Guide
Even though beignets are best enjoyed fresh, I know life gets busy, and you might be left with some leftover delights.
If you do have extras, store them in an airtight container at room temperature for up to two days. If you want them to last longer, toss them in the fridge for about a week, but fair warning—they might lose that crispy outer layer.
Reheating is where the magic happens! Just pop them in a preheated oven at 350°F for about 5-7 minutes.
No microwaving—trust me, that’ll make them sad and soggy. For an extra crispy comeback, give them a quick pan-fry in a little oil. It’s like they never left the fryer. Enjoy the joy, my friend! Additionally, consider using reusable parchment sheets to line your baking trays, making cleanup a breeze and reducing waste in your kitchen.
Final Thoughts
After enjoying those beignets, whether they vanished in a flurry of powdered sugar or you bravely stashed a few away, it’s time to reflect on the experience.
Wasn’t that the most delightful treat? I mean, who knew dough could skyrocket into such golden, fluffy clouds of joy? I can still taste the warm vanilla, it’s like a hug for my taste buds.
If you’re like me, you might’ve gobbled them up quicker than intended. But hey, that’s part of the fun, right?
Don’t worry if your frying skills turned out a bit wonky; it’s all about the smiles they bring.