You know, there’s something truly magical about the smell of bread baking in the oven. It takes me back to my grandma’s kitchen, where we spent countless afternoons together, flour dusting our aprons. I can’t help but wonder, what is it about homemade bread that makes everything feel just a little bit better? The process might seem intimidating, but trust me, it’s easier than you think. Ready to discover how to create that warm, crusty loaf?
Why You’ll Love This Recipe
You know, when I first tried making this bread, I wasn’t too sure what to expect. I thought it’d be a disaster, honestly.
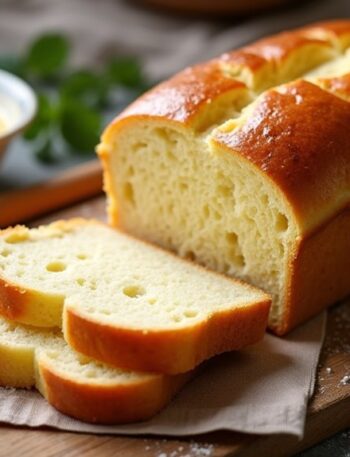
But when I pulled out grandma’s perfect homemade bread, I couldn’t believe it transformed my kitchen. The aroma alone had me drooling. That crusty exterior and fluffy interior? Incredible.
It’s the kind of bread that wraps around you like a warm hug. Plus, it’s so versatile! You can slather butter, make sandwiches, or just enjoy a slice fresh out of the oven.
And the best part? You don’t need fancy equipment or skills, just a little patience.
Equipment List
So, while you’re dreaming about that warm, fluffy bread pulling you in with its aroma, let’s talk gear.
You’ll need a few essentials to get started. First, grab a large mixing bowl—trust me, you’ll appreciate the space for all that dough. A dough hook or a sturdy wooden spoon will work wonders for mixing in those ingredients.
Don’t forget a kitchen scale or measuring cups for accuracy. You’ll also want a clean countertop for kneading; mine’s usually just covered in flour, so good luck finding it.
Then, a loaf pan or two is essential for shaping those perfect loaves. Last but not least, keep a clean kitchen towel handy—things can get messy, and I always seem to spill flour everywhere! Investing in premium baking equipment can make a significant difference in your baking experience.
Our Ingredients
Ah, the quest for the perfect homemade bread! It’s like a warm hug on a chilly day, don’t you think? Imagine that scent wafting through your kitchen, drawing in everyone like moths to a flame.
Now, before we knead our way into baking bliss, let’s chat about the stars of this show—our ingredients. Here’s what you’ll need to bring this bread to life:
- 2 ½ cups warm water
- ¼ cup sugar
- 1 ¼ tsp salt
- 1 tbsp active dry yeast
- 5 cups all-purpose flour
- 2 tbsp olive oil
Now that we’ve got our list, let’s take a moment to reflect on each ingredient. Good bread starts with good components.
The warm water? It’s a must because it’s what wakes up our sleepy yeast, but too hot and you’ll doom the whole operation. Let’s leave that water at a warm hug level, not a boiling tantrum.
And that sugar? Oh, it’s not just for sweetness; it’s the yeast’s best pal, helping it to flourish. The flour basically forms the backbone of our dough, while the olive oil adds a lovely richness.
Step-by-Step Instructions
Making homemade bread might sound like an intimidating task, but trust me, it’s easier than you think! With just a few simple ingredients and some patience, you’ll be well on your way to baking a loaf that’s as comforting as a hug from Grandma. Keep in mind that using an artisan bread maker machine can further simplify the process and enhance your baking experience.
So, let’s plunge into the process together—mixing the batter, kneading the dough, and smelling that incredible aroma wafting through your kitchen. Ready? Here we go!
1. In a large mixing bowl, combine 2 ½ cups of warm water**, ¼ cup of **sugar**, 1 ¼ teaspoons of salt, and 1 tablespoon of active dry yeast**. Give it a gentle stir and then let it sit for about 5 minutes. (This is where the magic happens; the yeast will start bubbling like it’s waking up from a long nap.)
2. Gradually add 5 cups of all-purpose flour to the mixture while using a dough hook on a mixer or a wooden spoon if you’re feeling ambitious. Mix until you form a soft dough. (It should be slightly sticky but not a total gooey mess. Feel free to sneak a taste—just don’t blame me if you get a flour mustache.)
3. If you have a kitchen surface, lightly flour it and turn out your dough. Knead it for about 8-10 minutes until it’s smooth and elastic. Form it into a ball, then place it in a bowl that you’ve greased with 2 tablespoons of olive oil.
(The oil gives it a nice richness—think of it as treating your dough to a spa day.) Cover with a clean kitchen towel and let it rise in a warm spot until it doubles in size, which takes about 1 to 1.5 hours.
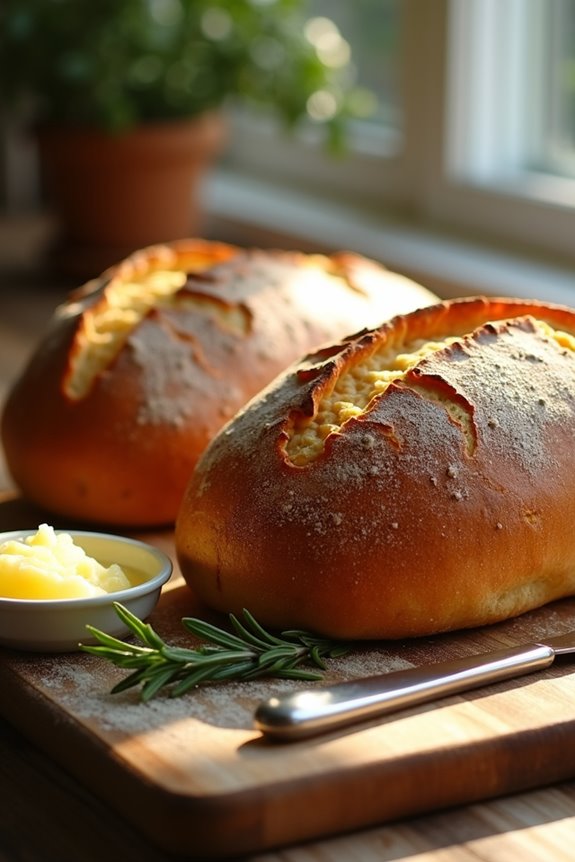
4. Once the dough has risen beautifully, it’s time to punch it down. Yes, punch. Gently, of course—no need to take out your frustrations here. Divide the dough into two equal pieces and shape each into a loaf. Place them in greased bread pans.
Cover them again and let them rise until doubled, which will take another 1 to 1.5 hours. (This is a great time to take a break—maybe enjoy a cup of tea, or, let’s be real, some well-deserved cookie dough.)
5. Preheat your oven to 350°F. When the loaves are ready, pop them into the oven and bake for 30-35 minutes, or until they’re golden brown and your kitchen smells like heaven.
(You might even find an imaginary parade forming in honor of your baking prowess.)
6. Once baked, remove them from the oven and let the loaves cool in the pans for about 10 minutes. Then turn them out onto a wire rack to cool completely.
(Try to practice patience here, even though you’ll want to slice into that warm bread right away. It’s worth it, trust me.)
And there you have it—a beautiful, homemade bread that will surely impress anyone lucky enough to get a slice. Just imagine serving it warm with a pat of butter melting into it… pure bliss!
Now, isn’t that better than any store-bought loaf? Enjoy your baking adventure; I guarantee you’ll never look at bread the same way again.
Tips & Variations
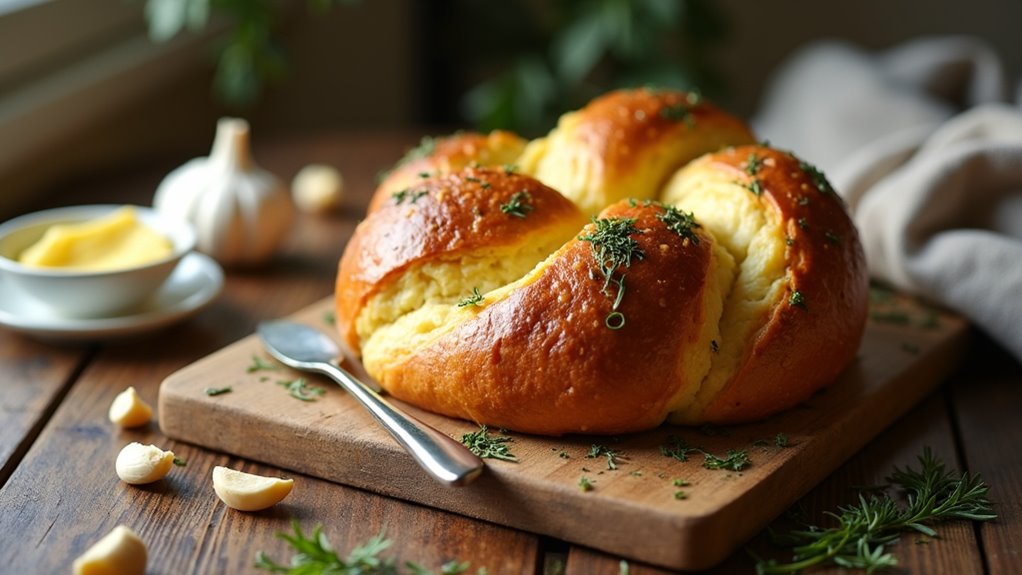
While baking homemade bread may seem straightforward, adding a few personal touches can elevate your creation from ordinary to extraordinary. One of my favorites is tossing in a handful of herbs or cheese. Imagine rosemary or even sharp cheddar. Yum!
If you want a sweeter loaf, fold in some dried fruit or nuts—pecans are great. Don’t forget to experiment with the flour; half whole wheat gives it a nutty twist.
I often make a double batch because let’s be honest, who can eat just one loaf? Just make sure to watch that yeast. Too hot water? It’s game over.
Think of it as your bread’s spa day; it needs the right environment to truly shine. Happy baking!
How to Serve?
After baking that beautiful loaf of bread, the real fun begins—how to serve it. Trust me, nothing beats warm, freshly baked bread, right?
I love slicing it right away, but be careful—it’s super tempting to just devour it whole. For a comforting touch, spread some butter on each slice, letting it melt in.
Or, if I’m feeling fancy, I mix a bit of garlic with that butter for a garlicky spread. Pair it with soup or a hearty salad, and you’ve got a meal that feels just like home.
If I’ve leftovers, I’ll make some sandwiches, but let’s be honest, that rarely happens. There’s just something about homemade bread that disappears faster than I expect.
Storage & Reheating Guide
You might wonder what to do with that loaf of bread after it cools down, right?
Well, here’s the deal: wrap it in plastic wrap or store it in an airtight container. This keeps it fresh for about three days on the counter.
If you want it to last longer, pop it in the freezer. Just slice it first for easy grabbing later.
When you’re ready to enjoy some bread, you can reheat it in the oven at 350°F for about 10 minutes.
Or if you’re feeling lazy like I sometimes do, a quick zap in the microwave works, but watch it carefully—it can turn into a chewy brick!
Trust me, nobody wants that. Premium kitchen cookware can make your bread baking experience even better. Happy eating!
Final Thoughts
Making homemade bread feels like a little magic, doesn’t it? There’s something so satisfying about watching that dough rise, as if it’s putting on a show just for you.
Sure, I’ve had my share of deflated loaves, but hey, we all start somewhere, right? This recipe is a reliable friend, always there when I need some comfort food.
The smell of fresh bread fills the house, turning it into a cozy haven. Honestly, who wouldn’t want to slice into a warm loaf with a pat of butter?
So, don’t be shy. Grab those ingredients and get started. You’ll be amazed at what you can create.
Trust me, your kitchen will thank you, and you might just surprise yourself. Happy baking!